All tutorials
Installing the what3words Yext integration
The what3words Yext integration enriches the location data managed via Yext and is an efficient way to automatically generate and publish what3words addresses across many brands and publishing sites.
It brings the basic functionalities from the what3words API to the Knowledge Graph Location entities, by converting the latitude and longitude of entity locations into what3words addresses.
Getting started with Manuela, Product Manager at what3words:
To use this integration, you will need to log in/sign up to:
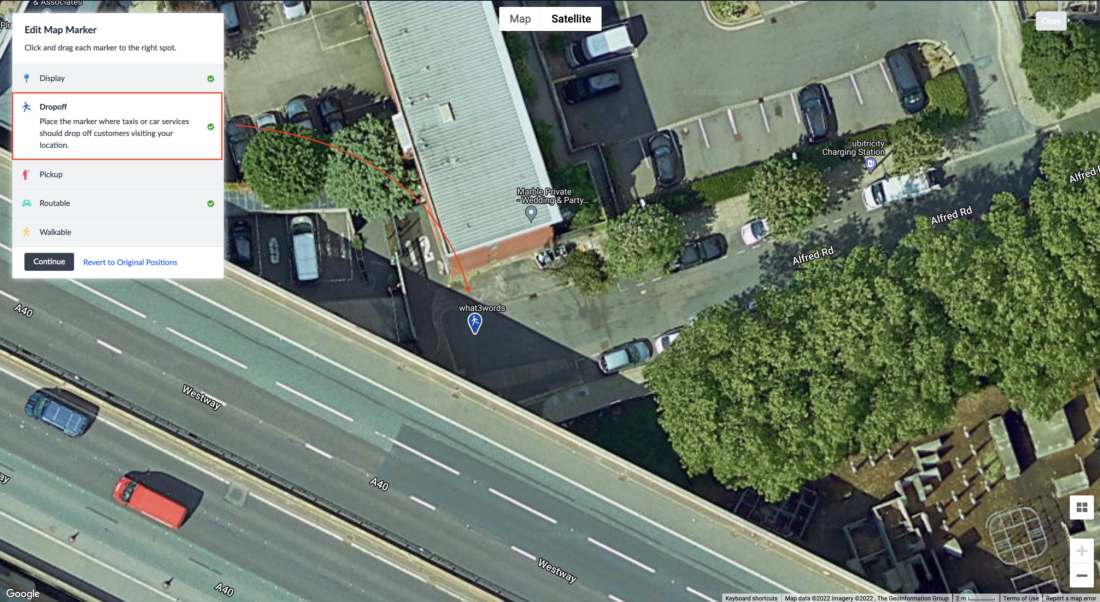
After logging into Yext, you need to make sure to have Drop-off locations for your entities before installing the what3words Yext integration otherwise the what3words app won’t be able to populate automatically the what3words Address field in your Entities.
To add these addresses, you need to select and drag the drop-off map marker of your Location Entity to a precise location of your entities entrance using the Yext map window.
1. Tap on the map window of the location object;
2. Zoom in and switch to satellite view to see more detail;
3. Drag the Drop-off map marker, to the precise location of the entrance;
4. Place the marker of the Drop-off location on your location entrance;
5. Then Save your location.
- Convert latitude and longitude of the Drop-off location of each location entity into a what3words address and populate the what3words Address field;
- Identify an empty what3words field and populate it in real-time with the corresponding what3words address;
- If the Drop-off location of any Location entity changes, the what3words address will be updated in real-time;
- The language of the Location entity will define the language of the what3words address;
- Perform bulk updates of the what3words address if multiple addresses are changed.
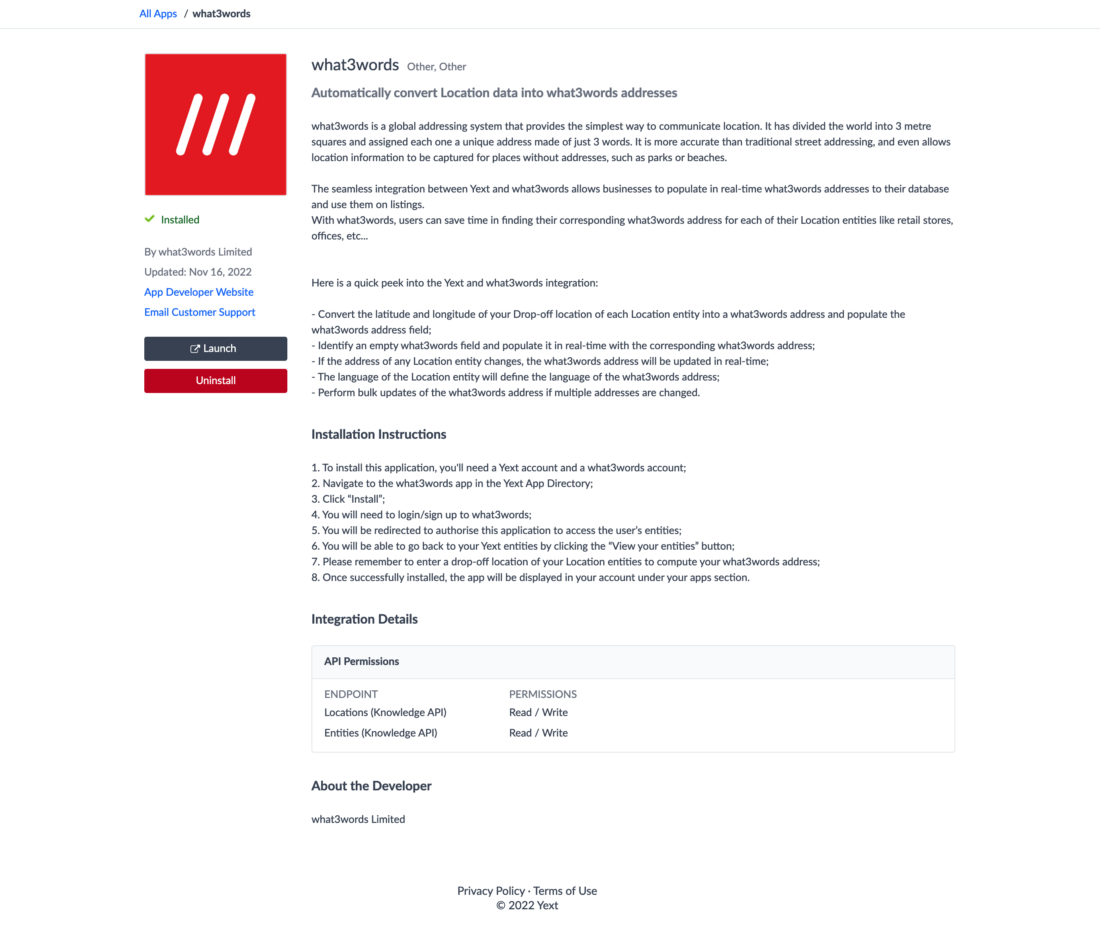
Visit the Yext integration page at https://www.yext.com/integrations/what3words to install the what3words Yext application.
Alternatively, you can log in/sign up to your Yext account. Navigate to the what3words app listed in the Yext App Directory, then click “Install”.
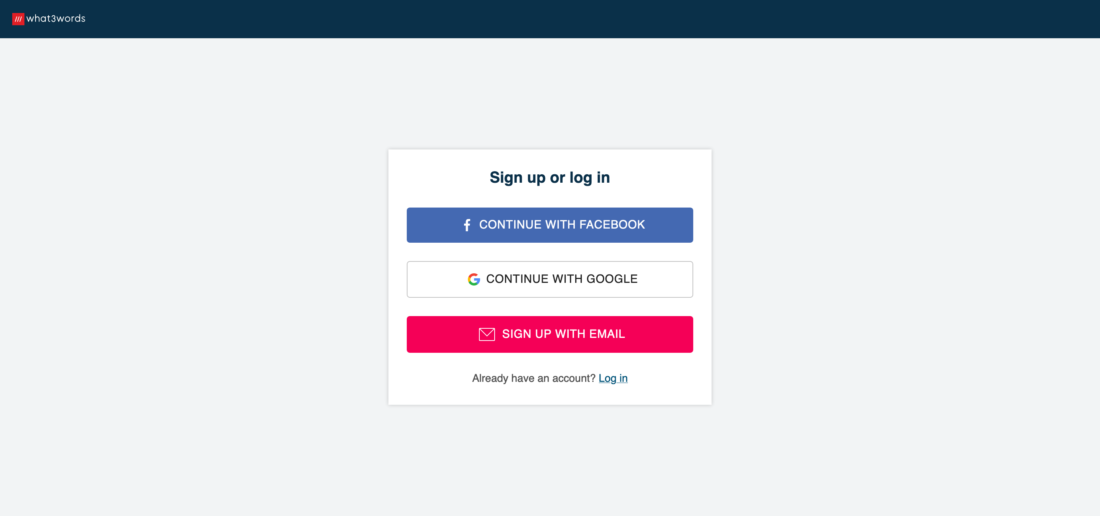
You will need to log in/sign up to your what3words account.
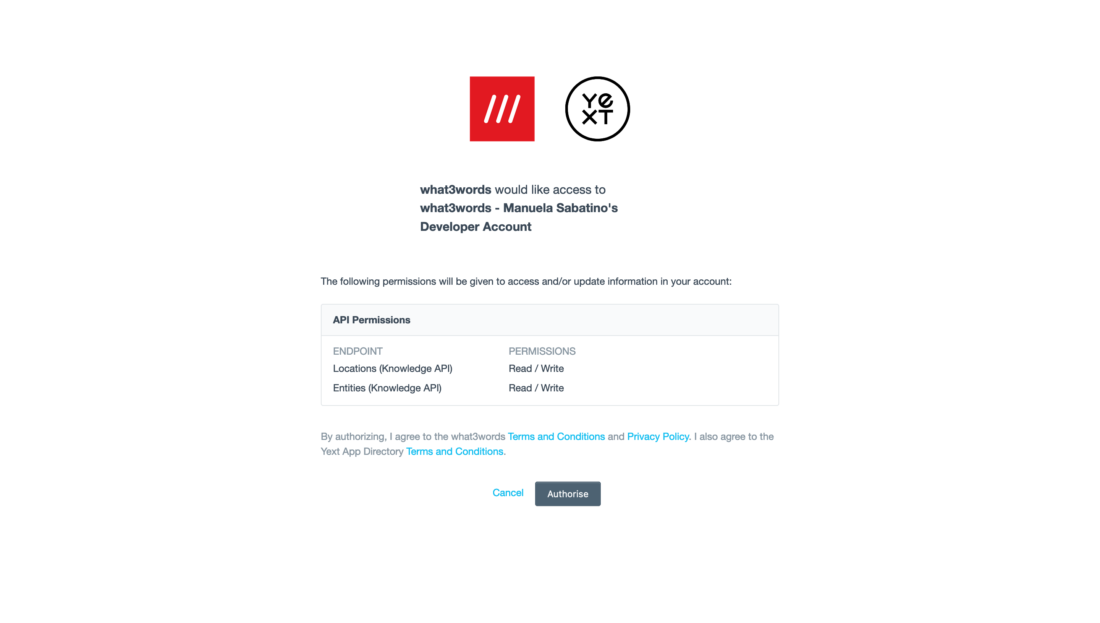
You will be redirected to authorise the what3words application to access to the user’s entities in Yext. Click on the Authorise button to proceed.
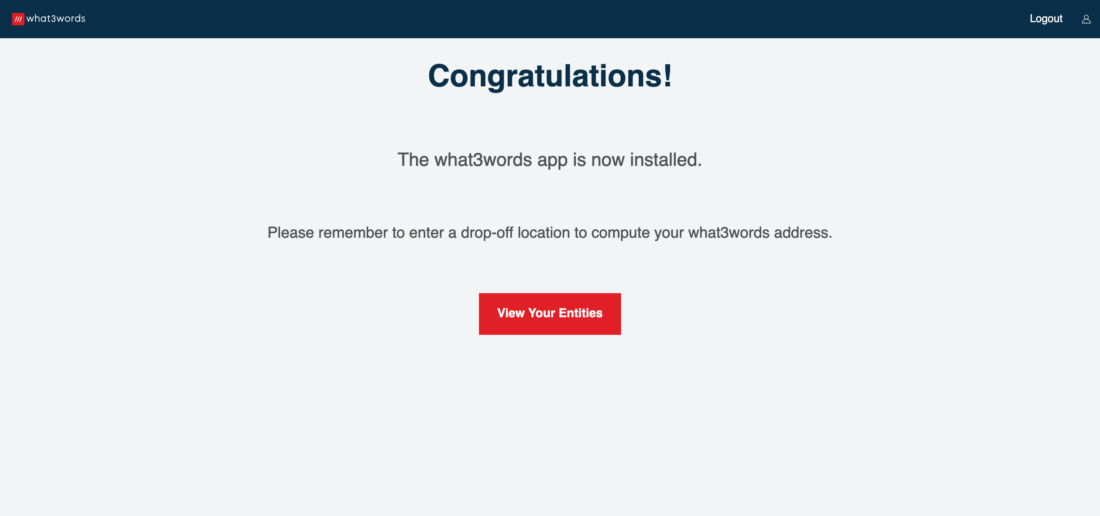
You will be able to go back to your Yext’s entities by clicking View your entities button on the what3words plugins page where you can enter a drop-off location (if you haven’t already done it as above-mentioned) to compute your what3words Address fields for your Entities.
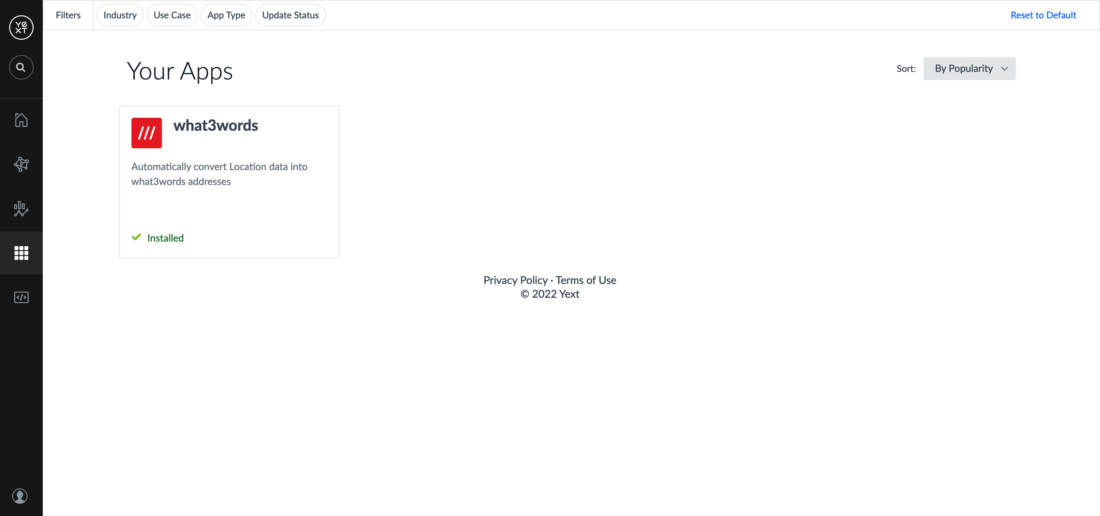
Once successfully installed, the what3words Yext app will be displayed into your account under Apps > Your Apps section.
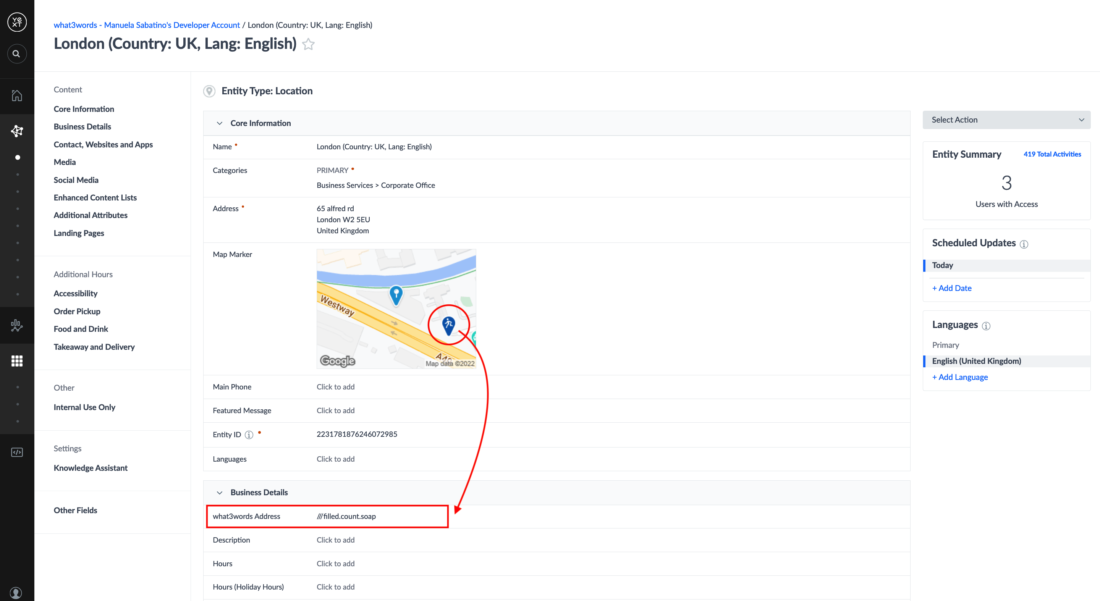
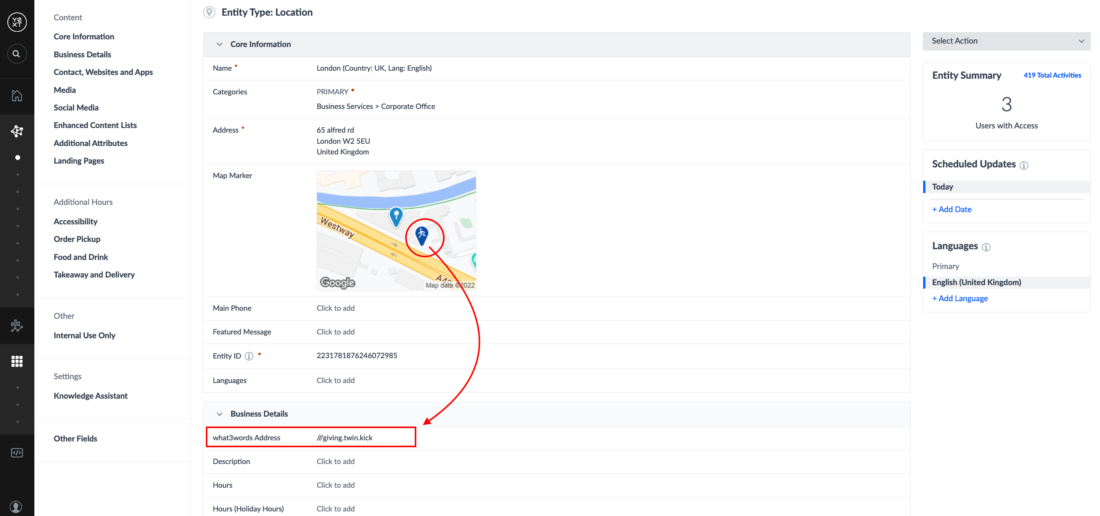
The what3words Yext app will automatically populate the what3words Address field when the Drop-off location has been added to your Location Entities.
You can find the what3words Address field within your Business Details form.
Note: You will need to enter this Drop-off location by following the guidelines above-mentioned in order to obtain a more accurate what3words address.
The what3words app will automatically update the what3words Address field when the Drop-off Map Marker has been moved to a different position on the map or their coordinates have been updated programmatically.
Note: We suggest moving the position of the Drop-off Map Marker on the map to the precise location of the entrance to get a more accurate what3words address.
The what3words app is available in the 50+ languages supported by what3words.
The language of the Location entity will define the language of the what3words address.
If the language is not supported by what3words, it will default to an English what3words address.

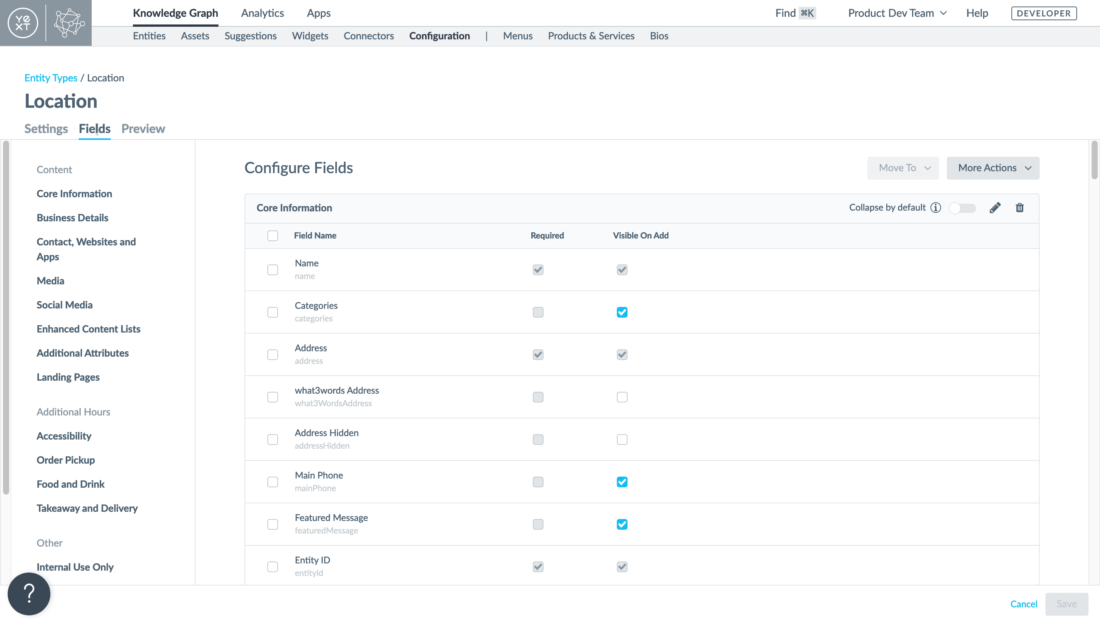
You can change the way you want to display your what3words Address field in your Location entities:
- You can move it up to the
Core Information - You can enable it in the
Previewform
To update the Configuration of your Location entities, you will need to: - Click on the
Configurationtab in your Entities - Select your Location entity
- Click on the
View Detailsbutton - Click on the
Fieldstab - Search for the
what3words Addressfield - Drag this field up to your
Core Information - Click
Save - Then click on the
Previewtab - Search for the
what3words Addressfield - Enable this field on the Preview view of your entities
- Click
Save